
How and What to Use for Cutting Plastic Window Sills
When cutting plastic window sills, it is important to choose tools that ensure a clean and precise cut without damaging the material. Plastic window sills are made of PVC, which is strong yet relatively brittle and prone to small cracks or damage.
We recommend using one of the following tools for cutting plastic window sills:
Hand Saw for Plastic
A fine-toothed hand saw is ideal for precise work. The fine teeth minimize the risk of cracks and rough edges on the cut. This tool is suitable for DIY enthusiasts and smaller adjustments.
Electric Jigsaw with a Suitable Blade
If you are working with a larger number of window sills or bigger dimensions, we recommend using an electric jigsaw with a blade designed for plastics. This method ensures a fast and clean cut without excessive heating of the material.
Circular Saw with a Fine Blade
For professional results, you can use a circular saw fitted with a blade suitable for plastics or fine wood cutting. However, it is important to keep the sill stable and maintain the correct cutting speed to prevent deformation caused by heat.
When cutting, always remember the basic rule: measure twice, cut once. Accurate measuring is essential to ensure the window sill fits properly and performs its function well. Before cutting, we recommend marking the cutting line with a pencil and ruler.
How to Properly Install Plastic Window Sills
Installing plastic window sills is a relatively simple process, but it requires care and attention to each step. We have prepared a recommended procedure for you:
Surface Preparation
A properly prepared surface is the foundation of a successful installation. The surface should be level, clean, and free of dust or grease. If the surface is uneven, we recommend using a leveling compound or filler to smooth it out.
Cutting the Window Sill to the Required Length
Using the tools mentioned above, cut the window sill to the desired length. Keep in mind that the sill should slightly extend beyond both sides of the window reveal, usually by about 2–3 cm.
Applying Mounting Adhesive
Apply mounting adhesive designed for plastic window sills to the prepared surface. Spread the adhesive in wave-like lines or strips across the entire area to ensure even bonding.
Positioning and Securing the Window Sill
Carefully place the window sill in position, press it down evenly, and use a spirit level to check that it is properly aligned. If necessary, temporarily weigh it down with heavier objects to ensure the adhesive bonds well to the surface.
Finishing Work
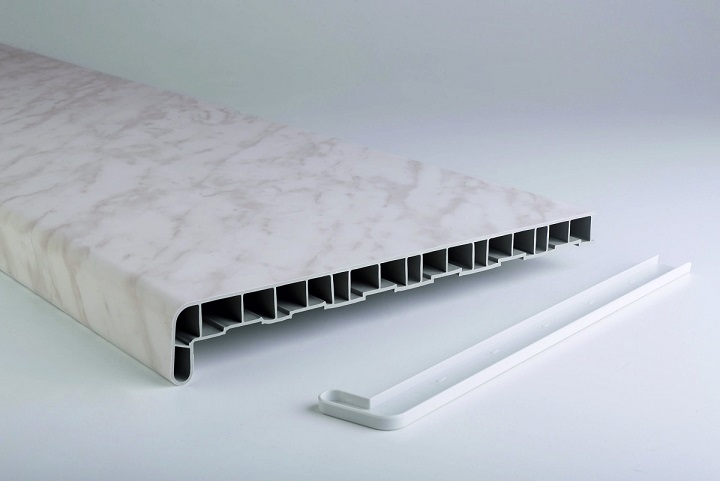
After the adhesive has dried (usually within 24 hours), attach the side end caps that finish the sill neatly. If small gaps remain between the sill and the wall, seal them with acrylic or silicone sealant to protect against moisture.
Practical Advice and Tips
- Always wear protective gloves when working with plastic window sills to prevent injuries or scratches to the material.
- When cutting with power tools, make sure the speed is set correctly to avoid overheating and deforming the plastic.
- For window sills exposed to direct sunlight, we recommend choosing UV-stabilized types.
If you are unsure about cutting or installing plastic window sills, feel free to contact us. We will be happy to help you.